CUSTOM AF CASE - BIRDS IN FLIGHT SETTINGS FOR CANON 5D MARK III
The Canon 5D III and IV has an upgraded focus system much like the top of the line Canon 1Dx series. With 61 focus points and multiple focus tracking modes, the 5D III not only makes for a great landscape camera because of it being full frame with a great 22.3 MP sensor, it is up to the challenge of serious wildlife photography. The full frame sensor allows for some serious cropping with very little loss of resolution. The 5D III also has an improved capture rate of six frames per second. This in no way compares to the 14 frames per second of the 1Dx, but is more than sufficient for birds in flight photography. Where the 5D III makes up for a little lower FPS rate is with its high ISO capabilities. The ISO can be pushed higher than most previous bodies so as to get a very fast shutter speed to get great details of flying birds or other fast moving animals. Another good part of being able to push the ISO is that is also allows for a deeper depth of field setting. It can be stopped down a full stop or more to give better detail throughout the subject not just mainly on the head and one wing as it flies by.
To capture the best bird activity, some of the settings I suggest on workshops is to try and get a minimum shutter speed of 1/2000th of a second. Even in daylight shooting my ISO is usually at 640 to maintain this and even higher shutter speeds depending on the light conditions. The highest I've ever used is 6400 to satisfactory results. As for the f/stop, with using a 600mm f/4 for bird photography, my setting is typically 6.3 or 7.1 but sometimes just 5.6 and even f/8 to allow for a little more depth of field.
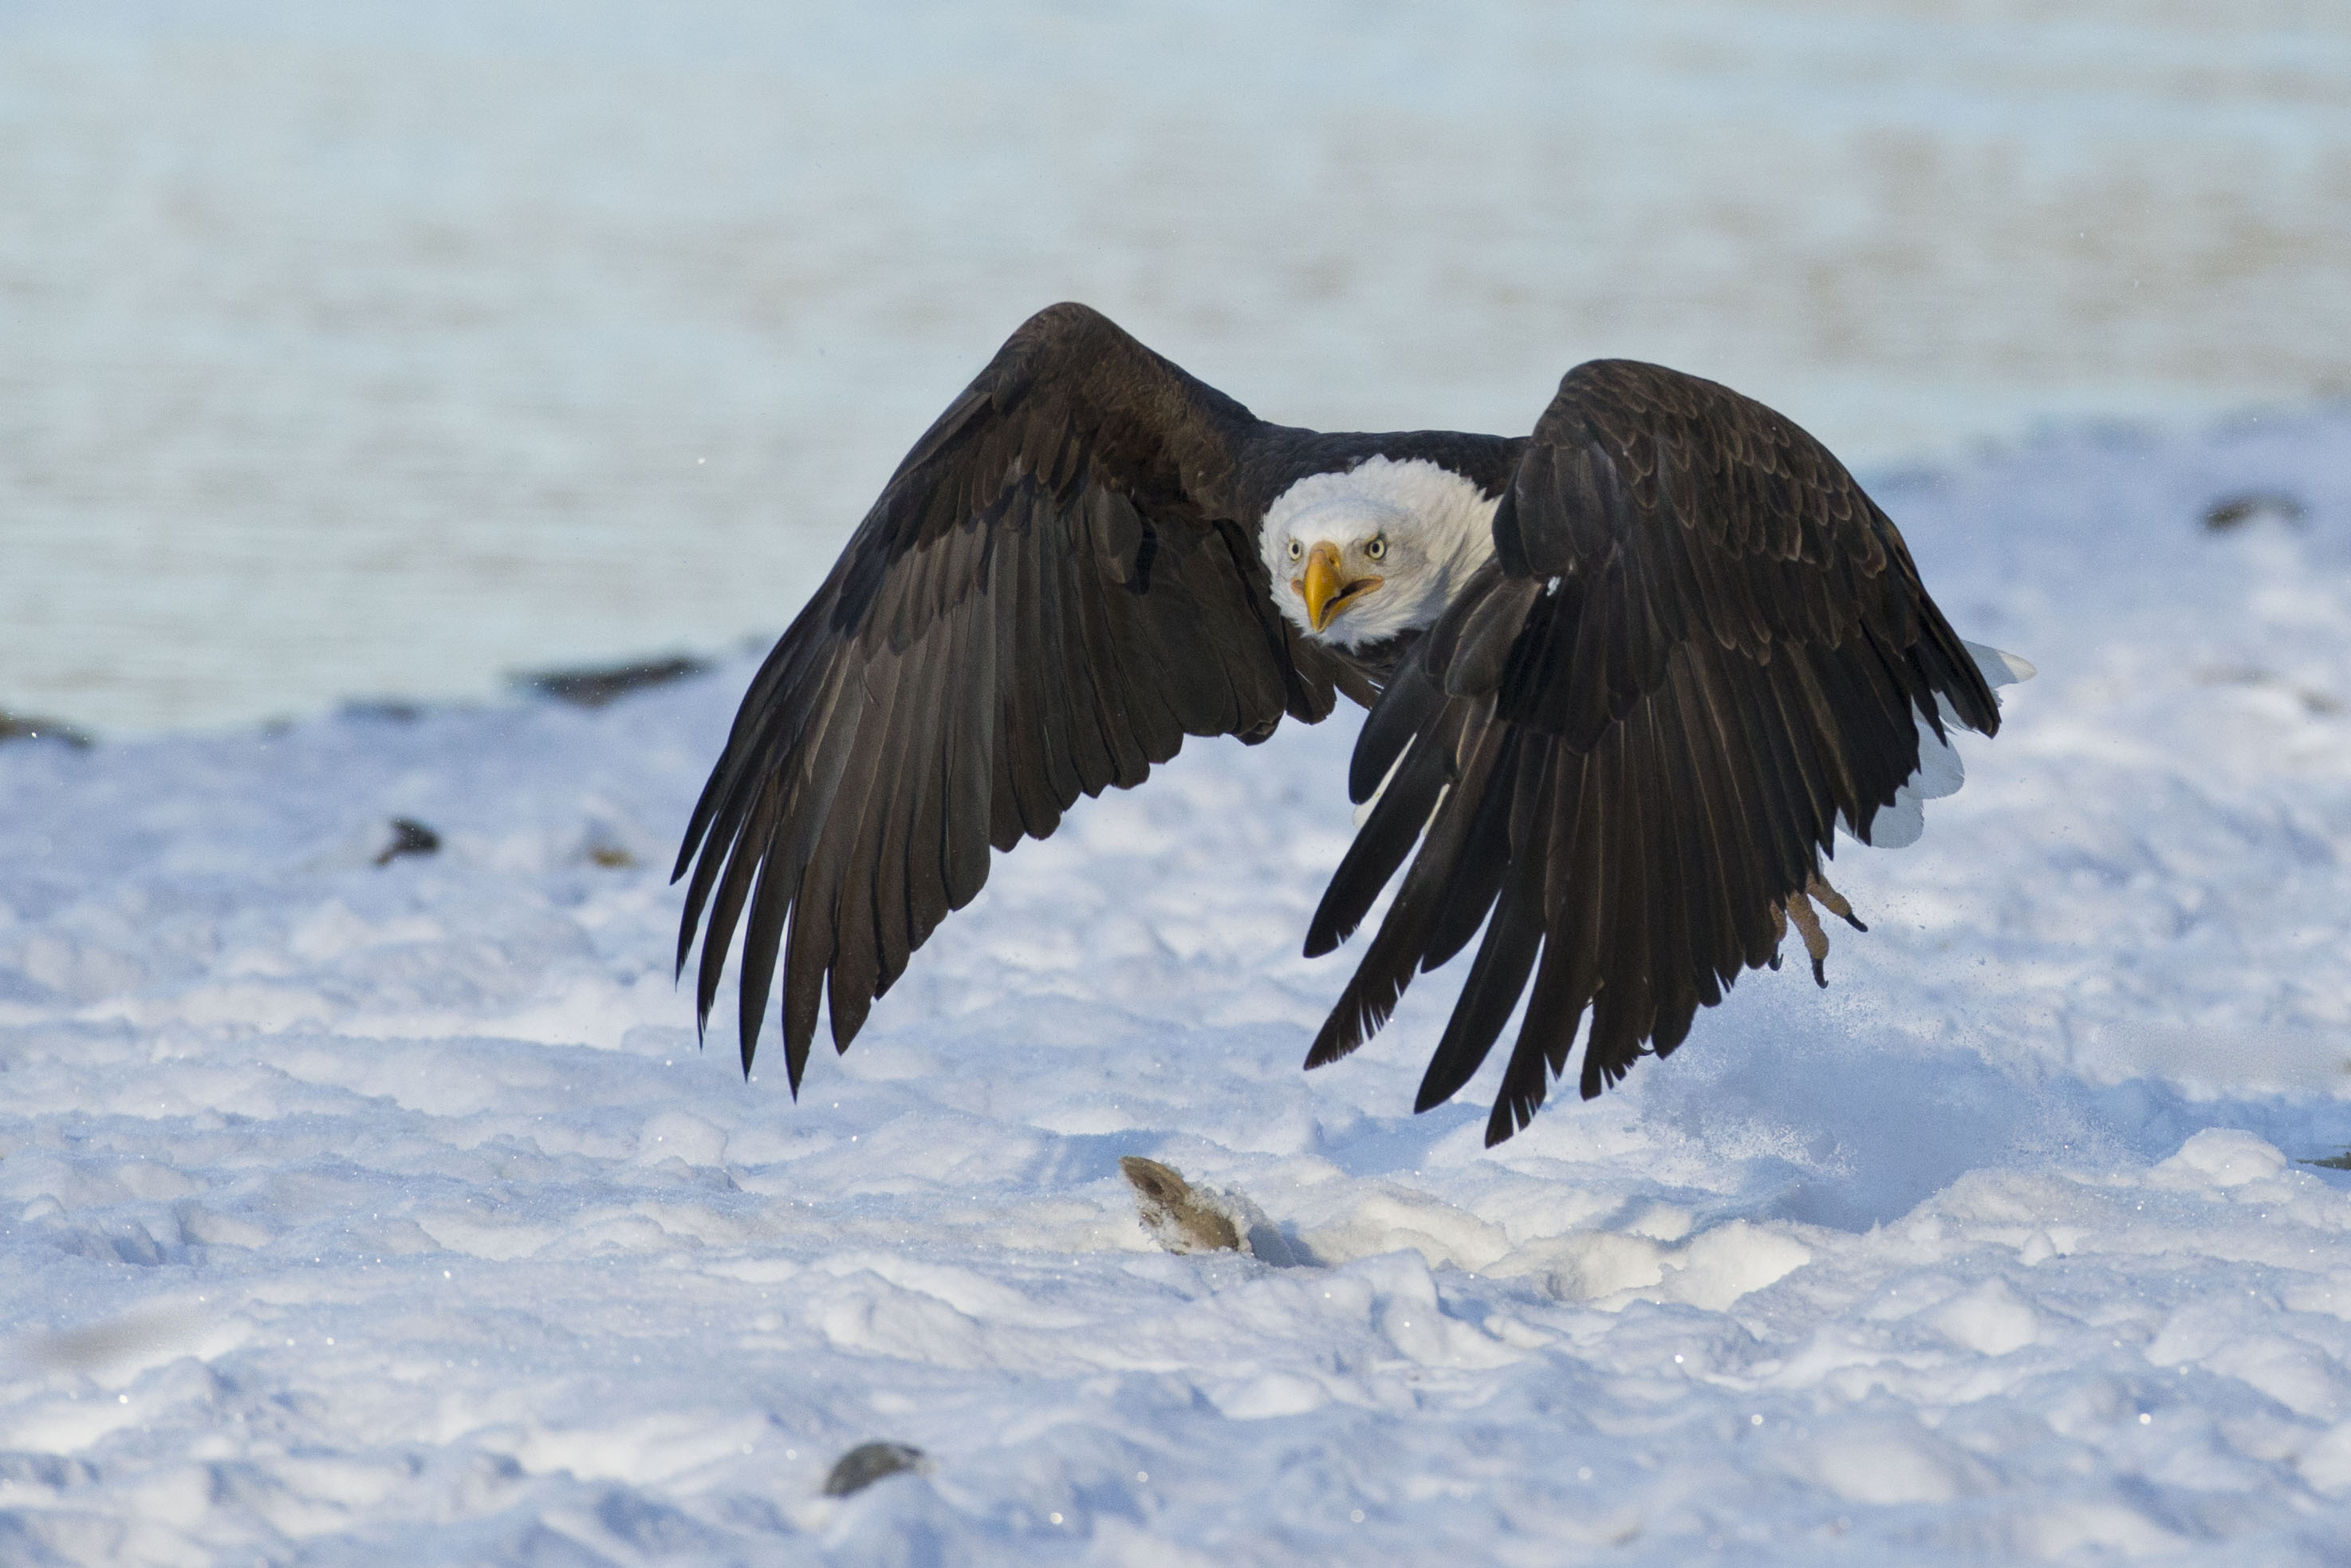
 A fast shutter speed and more depth of field captures lots of detail of the bird in flight |
One thing about the 5D III is that there are so many settings it can be a little bit confusing. But with having so many settings and combinations, that makes it easier to use for a variety of shooting scenarios. As for acquiring focus against a busy background with little contrast between the bird and background, the 5D Mark III has a bit of an issue of making sure you have the center auto-focus point centered on the bird, primarily if it's just a small part of the frame. Because the field-of-view is much larger with being full frame, the bird appears smaller in the viewfinder and it takes practice to make sure the bird is in the center of the frame before hitting the focus button.
First, some set-up options you should use for birds in flight photography: Set the drive mode to Continuous (H), shoot in AI Servo (moving subjects) and pick an ISO of around 800 for the 5D III (even higher in low light). Turn your lens stabilization switch to ON, if you are hand-holding. Only use IS on a tripod if using one of the latest lenses that allow for tripod IS. Using IS with the lens on a tripod can cause failure in the system - I've seen it with people on workshops. Another drawback is the stabilizer is trying to steady something that is already steady and it can cause a little bit of blur. If the lens has a mode 1 or 2 switch, set that to 2. If the lens has a distance range switch, set it to the furthest setting to reduce focus hunting. As with all photography, shoot in RAW as it gives more data to work with in post processing.
Canon has put the 5D Mark III auto-focus functions under one tab, magenta-colored, with five screens (AF1-AF5). The Configuration tool has a column of six tiny sport icons, each representing an AI Servo set-up to match subject movement for the particular scenario. For example, Case 1, the default, has a runner icon, appropriate for many if not most situations (think big bird in flight). All the Cases manipulate three distinct control parameters: Tracking sensitivity, Acceleration/Deceleration and AF point auto switching. Before going into the custom settings that will make birds in flight photography a bit easier, let's first understand what each of the parameters do.
Tracking Sensitivity. Controls focus when another object intrudes on the subject being tracked. When you get your focus on a bird and another object gets between you and the bird as you track it, should you stay with the original subject (-1,-2), or jump to the interfering one (+1,+2)? A minus tracking sensitivity tends to stick with the bird while a plus goes with the intervening flock.
Acceleration/Deceleration. The speed that birds change speed, whether it be faster or slower. A duck comes at you, spreads its wings, decelerating to land (+1,+2). A medium-sized bird at 20 mph, or a small bird, flying at a little bit of an angle toward you, a +1 should return more keepers.
AF point Auto Switching. This control only applies if you’re using one of the Point Expansion or Zone (multiple focus points) Area Selection Modes. It’s not available if you’re using Single Point AF. It sets how rapidly the AF point switches to a new AF point. Say you lock on a bird and it banks and moves off as you’re firing. A +1 or +2 tells the camera to change focus points and stay on the bird. Best used with 61-point automatic selection AF to give you the whole range to switch to. At first, the camera wasn’t reacting fast enough for me. I now think AF point Auto Switching is useful, and may be the ticket on select tough shots.
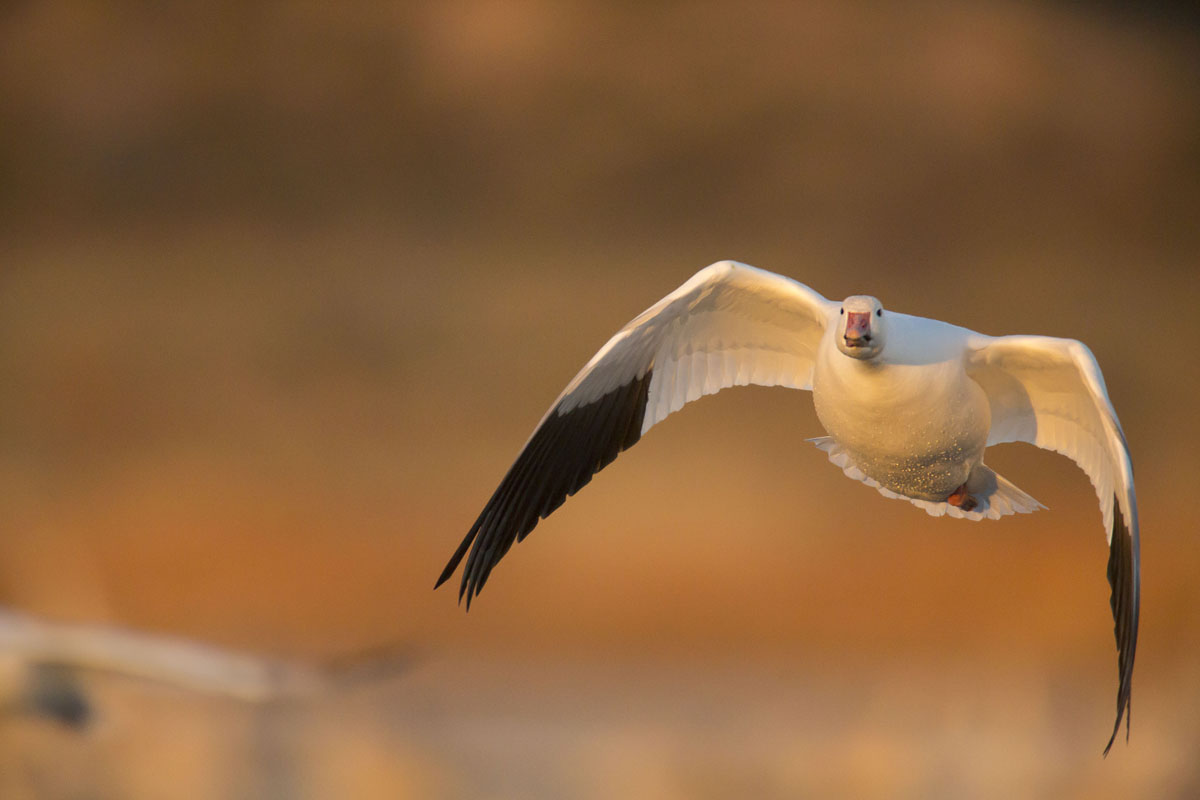
 Situations like this you want the focus to be maintained on the primary subject - the young roseate spoonbill |
A look at the six preset Cases and what they might be good for.
Case 1 - Versatile multi purpose setting: 0,0,0. Adequate for larger birds in flight in open terrai, not flying right at you. The camera gets on the bird and stays with it if you stay on the bird. A good general setting.
Case 2 - Continue to track subjects, ignoring possible obstacles: -1,0,0. Example 1: When you’re locked onto a bird as it gets behind a floc, and you want to stay on the original bird. Example 2. A medium-sized bird in a thicket where you want the camera to ignore interfering branches as you follow a birds movement.
Case 3 - Instantly focus on subjects suddenly entering AF points: +1,0,0. You’re photographing a flock so it would make sense to pick up the closest birds as you usually want the closest thing to you to be in focus. Another scenarios is that you're on a bird and another nearby one flies in front of it, here it would make sense to switch focus to the near bird rather than the one now further away.
Case 4 - For subjects that accelerate or decelerate quickly: 0,+1,0. A large or medium bird coming right at you, coming in for a landing, taking off or buzzing by fairly quickly. An example would be where a bird leaps off the water, flies at you, and spreads it wings to land.
Case 5 - For erratic subjects moving quickly in any direction: 0,0,+1. Best for birds that change direction quickly such as leaping off a perch. Works well with 61-point AF expansion, and non-busy backgrounds. Best shot for this setting is to have the bird at a far left or right AF point in anticipation of it flying into the frame.
Case 6 - For subjects that change speed and move erratically: 0,+1,+1. Best for small birds that change direction quickly while in flight.
CUSTOMIZED CASE SETTING
I believe I've found the best AF Case setting for shooting birds in flight. While some of the presets do a pretty good job - mainly Case 4, 5, and 6 - going in and creating your own custom Case seems to be the way to go, especially if you do a good bit of birds in flight photography. When you create a new setting on one of the presets remember that the description stays the same but the settings you have put in will be what you set.
Choose where to put your custom preset - In choosing where to program the custom Case, I was going back and forth between Case 2 and 3 and chose 3 for where to put this custom Case. While not every shooting condition is the same, setting up a custom Case that allowed for the highest amount of control seemed logical.
Custom Settings - For all six Cases, Tracking sensitivity has a default of 0 or -1. Setting it at -2 will help with the focus staying on the subject and not pick up anything that moves into the frame such as a tree branch or another animal. For Acceleration/Deceleration tracking, all the presets are 0 or 1. The camera has the option for 2 which provides quicker sensitivity to a subject changing speeds so why not take advantage of it. AF point auto switching is like the previous with all presets at 0 or 1. Again, go to the most sensitive and set it at 2 so the camera switches AF points quicker when the subject moves off the primary focus point it's on. This setting only works when using Zone AF or the 61-point option.
Create a custom preset - To create a custom Case go to the first menu in AF and scroll down to the one you want to write over. Hit the RATE button on the left side of the back of the body and then the Set button in the thumb wheel. Turn the dial to the left to -2 and hit Set. Scroll down to Accel./decel. and hit Set again. Turn the thumb wheel to 2 and hit Set. Do the same for AF point switching and you're good to go.
Give this a try the next time you do some birds in flight photography or other fast wildlife and see what you think.
 |
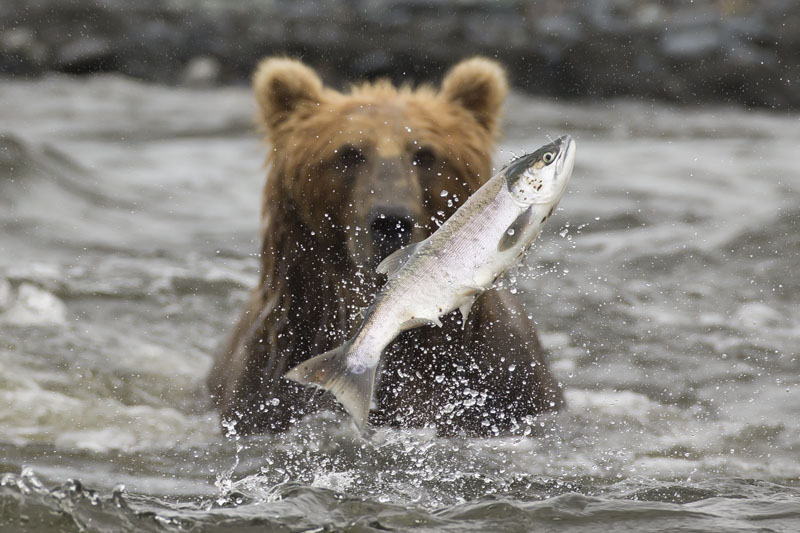
It doesn't hurt to have two Custom Cases created. One for keeping the focus on the primary subject and a second for getting a quick change to something moving in front of the main subject. A good case in point for this was observed when photographing Kodiak bears in Alaska. With the salmon jumping in the river in front of the bears, I wanted to get a shot where the focus changed to the salmon. The Tracking Sensitivity for the new case (Case 2) was set to +2 so the focus would switch immediately. There was never an instance of the fish being close enough to the bear for both to be in focus, but the image below shows it does a good job of switching to the closer object, in this instance the salmon.
 |


